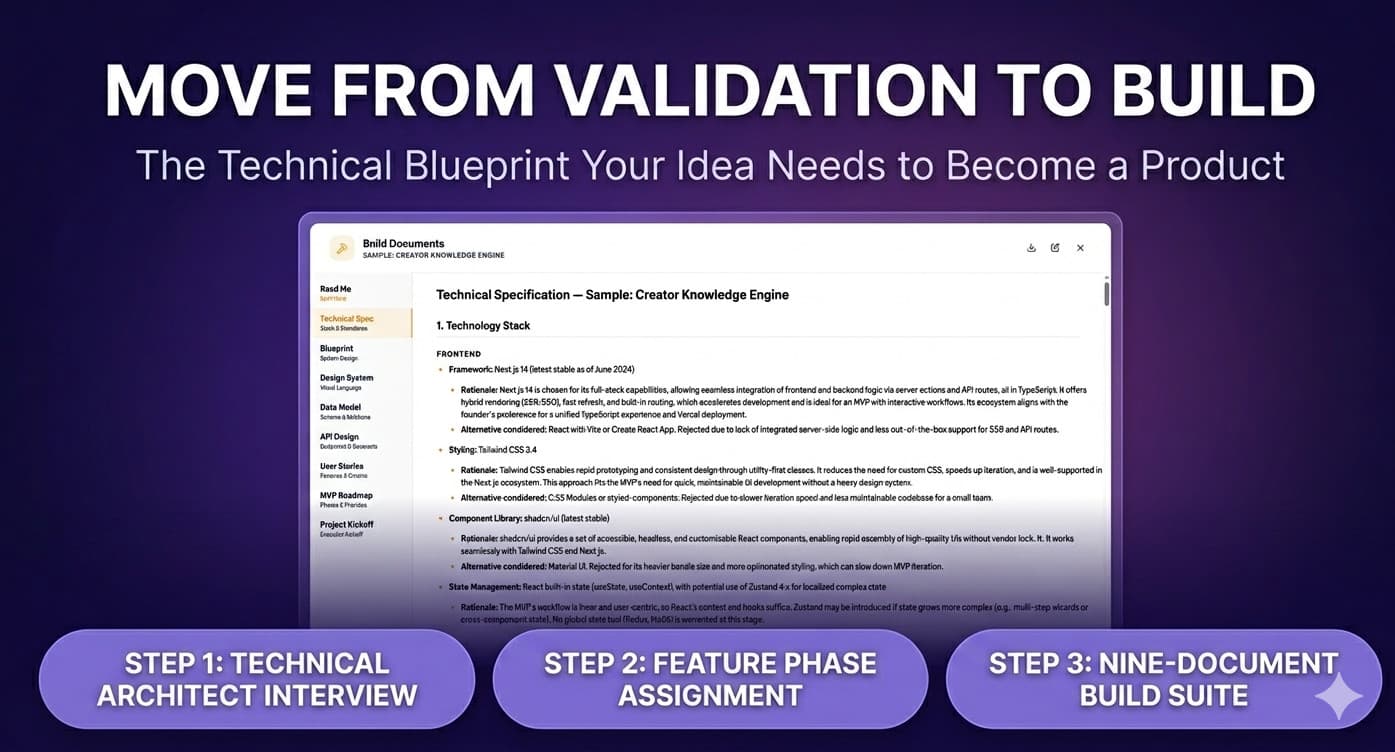
You have a validated idea and a score that supports moving forward. The next question is how to get from a positive verdict to a product that actually exists.
For most founders, this is where momentum stalls. Not from lack of motivation, but from the blank screen problem. You open a code editor, a project management tool, or a conversation with an AI coding assistant and face an overwhelming number of decisions without a clear starting point. What do you build first? What does the data model look like? How should authentication work? What are you explicitly not building in version one?
The founderscore Build Documents suite is designed to answer those questions before you write a single line of code. This article walks through the full process from interview through document generation and delivery.
Before You Begin
Two things are required before the Build Documents process can start: a completed Feasibility Report must exist for the project, and you need 3 credits available. The credit cost is flat regardless of project complexity. Build Documents are the most resource-intensive process on the platform and the most time-consuming. Plan for more time than the Feasibility Report or Pitch Paper generation required.
To begin, click the Hammer icon in the Actions column for the project. The icon appears orange for projects that have not yet generated build documents and shifts to green once a set exists.
The Technical Architect Interview
The Build Documents interview is longer and more detailed than the Feasibility Report interview. It can run up to 30 questions, with an optional extension to 35 if the AI determines more targeted questions would strengthen the output. The AI persona is a senior technical architect, not a venture analyst. The questions are practical and execution-focused.
Before the first question, the AI reviews your project description and Feasibility Report to identify existing technical context, then asks if there are additional topics you want to make sure are covered. This does not count toward the question limit.
The 30 questions are prioritized around 13 gap detection areas, with the most impactful build-relevant gaps addressed first:
-
Tech stack preferences and constraints
-
Team composition and technical skills
-
Timeline and deadline constraints
-
Third-party integrations and API dependencies
-
Data model complexity and storage requirements
-
Authentication and authorization requirements
-
Scale expectations: users, data volume, geography
-
Compliance and regulatory technical requirements
-
CI/CD, DevOps, and deployment preferences
-
Budget constraints for infrastructure and tooling
-
Design intent and UI philosophy: visual references, component library, branding, accessibility baseline, mobile-first versus desktop-first
-
Build approach and tooling: AI-assisted coding, manual development, hired developer, or agency
-
Non-goals and explicit exclusions: features intentionally left out of v1, premature optimizations to avoid, scope boundaries to enforce
That last area deserves particular attention. Defining what you are not building is as important as defining what you are. AI coding assistants are eager to help and will often over-engineer solutions by adding features you never asked for. Explicitly documenting your exclusions creates boundaries that keep the build focused and prevent scope creep from derailing your timeline.
The Addendum Review
Unlike other interviews on the platform, the Build Documents addendum review does not include a Skip option. The AI synthesizes your answers into a structured technical addendum with subsections corresponding to the gap areas covered. You must approve and save this addendum to your project description before the generation process can run. The addendum becomes part of your permanent project context.
Feature Extraction and Phase Assignment
The first stage of generation extracts a complete feature list from your project description, Feasibility Report, and interview transcript. The AI recommends a build phase for each feature: MVP, Phase 2, Phase 3, or Future.
Generation then pauses and presents an interactive feature-to-phase assignment screen. You can drag and drop features between phases to adjust the AI’s recommendations. Features can be removed from the list entirely using the remove button on each item. There is no option to add new features that were not extracted from your validated research. This constraint is intentional: every feature in the list has backing from your Feasibility Report. Introducing unvalidated scope at this stage defeats the purpose of the process.
When you are satisfied with the phase assignments, click Confirm and Generate Documents to lock them in and resume generation.
The Extraction Phase
Eight specialized AI agents run in parallel, each focused on a specific dimension of your architecture. They all work from the same project context but filter it through entirely different lenses:
-
Tech Stack: Frontend, backend, database, infrastructure, third-party services, dev tooling, and constraints
-
Architecture: Architectural pattern, component decomposition, data flows, security architecture, and infrastructure layout
-
User Stories: Personas, core journeys, and Given/When/Then acceptance criteria with edge cases
-
Roadmap: Timeline constraints, feature inventory with effort sizing, dependency chains, and risks
-
Data Model: Entity inventory, attribute definitions with database-specific types, relationships with cascade rules, indexes, and row-level security
-
API Design: Endpoint inventory with methods, authentication, request and response shapes, real-time patterns, and security policies
-
Design System: Brand intent, color tokens with hex values, typography scale, spacing and layout, component contracts, and accessibility baseline
-
Kickoff: Build approach, architectural invariants, locked stack decisions, non-goals, environment setup, and build phase decomposition
Once extraction completes, all results and context are saved to a server-side “scratchpad” in the event something interferes with the build process.
Between extraction and writing, an intermission screen displays the completed extraction phases with green checkmarks alongside a preview of the upcoming writing phases split into Part 1 Foundation and Part 2 Execution. This is a natural pause point.
The Writing Phase
Writing runs in two parts. Part 1 produces the four Foundation Documents. Part 2 produces the four Execution Documents. A second intermission screen appears between them.
Part 1: Foundation Documents
-
Technical Specification (3,000 to 5,000 words): Detailed feature definitions, acceptance criteria, non-goals, and deferred decisions. This is the document that keeps your build honest about what version one actually includes.
-
Architectural Blueprint (2,500 to 4,500 words): System patterns, component decomposition, data flows, and an Architectural Decisions Record that documents why key choices were made.
-
Design System (2,500 to 4,000 words): Color tokens, typography scale, spacing and layout rules, component contracts, accessibility baseline, and explicit anti-patterns to avoid.
-
User Stories (2,000 to 3,000 words): Personas, core journeys, stories with Given/When/Then acceptance criteria, edge cases, and a global Definition of Done.
Part 2: Execution Documents
-
MVP Roadmap (2,000 to 3,000 words): Dependency-ordered build sequence, feature inventory by phase, critical path analysis, and timeline estimates.
-
Data Model (1,800 to 2,800 words): Entity inventory with markdown table schemas, database-specific types, relationship definitions, cascade rules, and row-level security policies.
-
API and Integration Design (2,000 to 3,000 words): Endpoint inventory with authentication, request and response shapes, third-party integration patterns, real-time handling, and failure protocols.
-
Project Kickoff (3,000 to 5,000 words): Architectural invariants, locked stack decisions, environment setup, and AI execution prompts for each build phase. This document is how you actually deploy the suite: it contains sequenced prompts you feed to your AI coding tool one phase at a time, referencing only the relevant documents for each task.
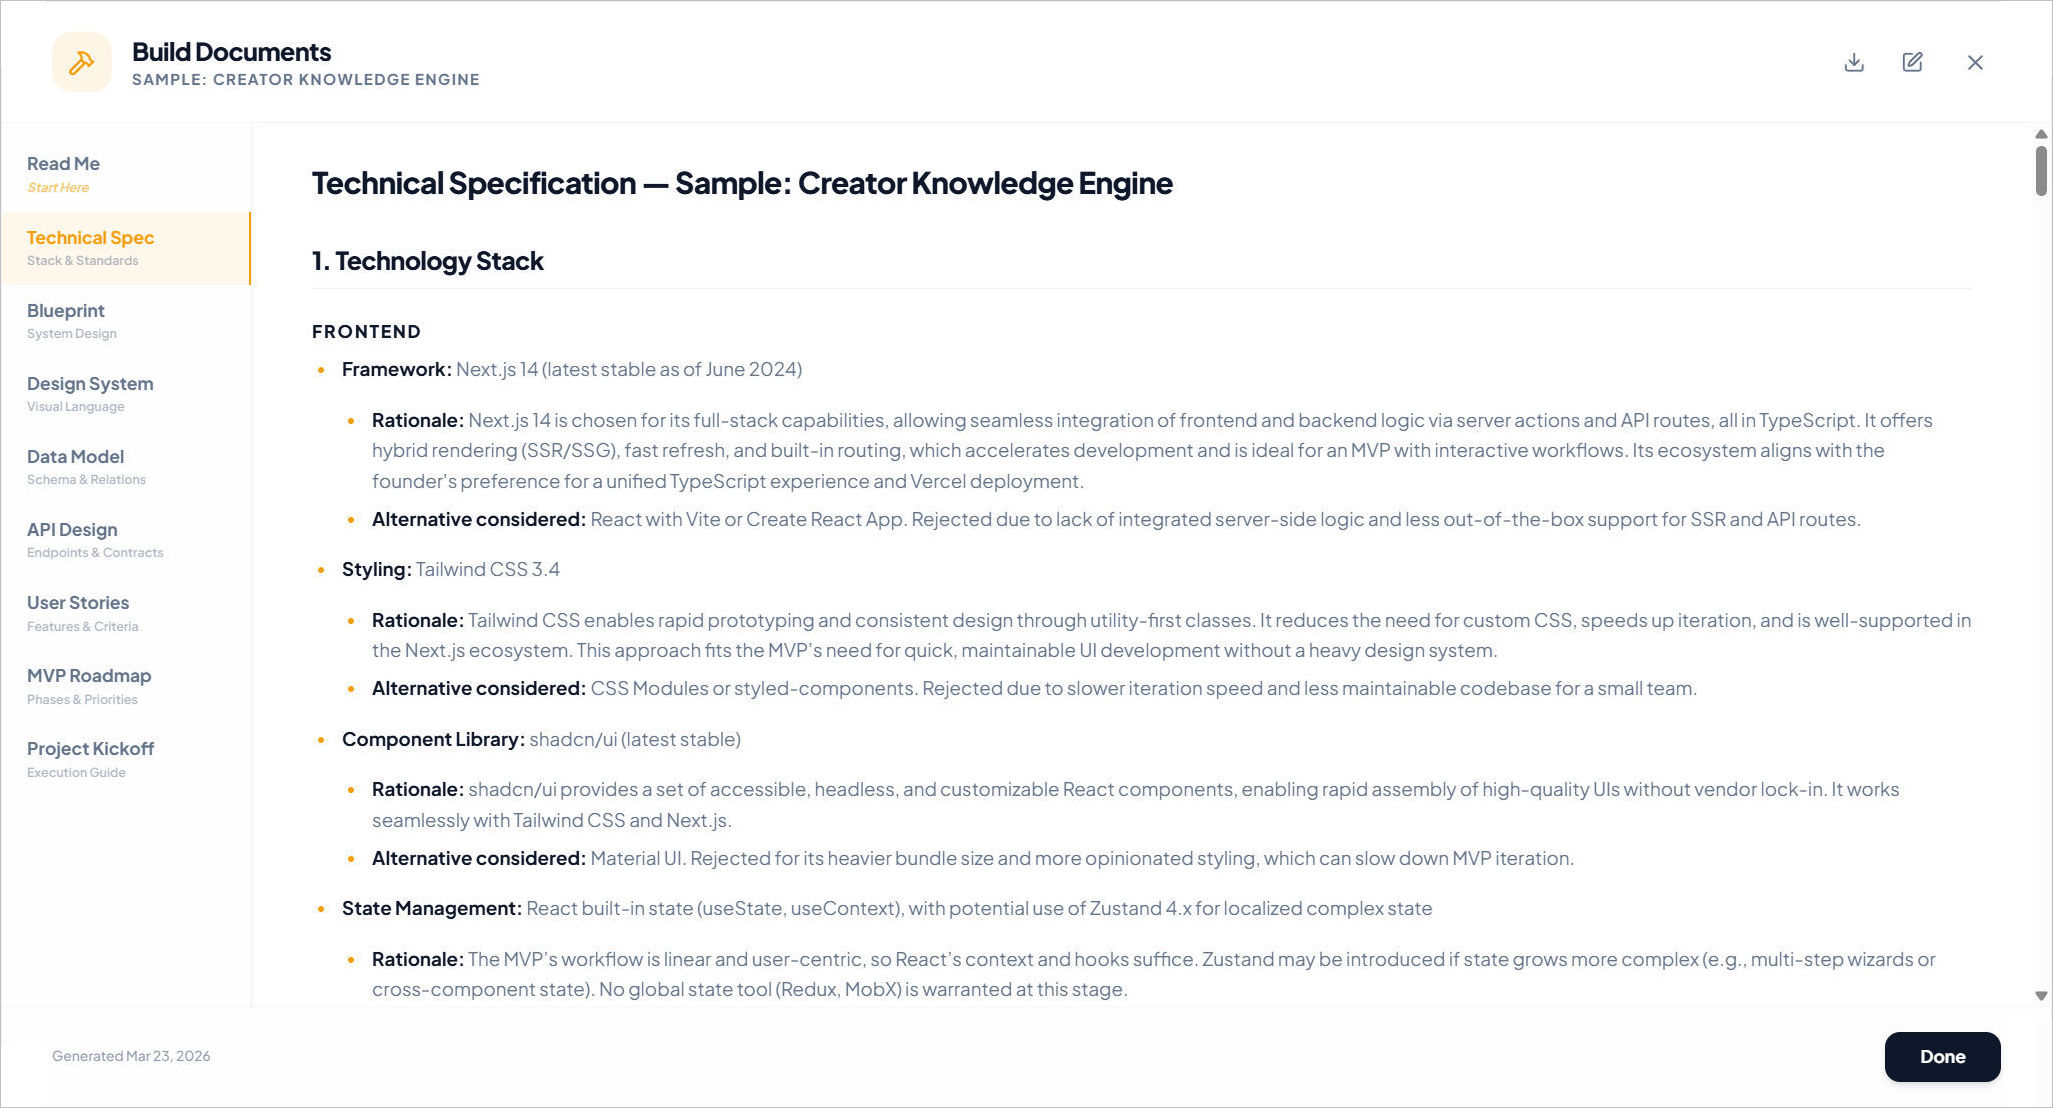
A Read Me orientation guide is provided as an overview of how to use the generated Build Documents. The Read Me guide is the only document that is not directly editable.
All generated files are saved to the database when generation completes and credits are then deducted.
Viewing and Using Your Documents
The Build Documents viewer opens with a left sidebar showing all document tabs in build order. Click any tab to view that document in full markdown rendering. The edit button opens the document in a full editor.
The download button opens a selection dialog where you can choose any combination of documents and export them as Markdown or PDF. Selected Markdown documents are combined into a single download.
How to Put the Documents to Work
The build documents are designed to be loaded into your development environment together. The Project Kickoff document is your guide through the build. It contains phase-specific execution prompts that tell your AI coding assistant exactly what to build next, in what order, and with references to which documents to consult for each task.
This approach turns you from someone staring at a blank screen into an engineering manager directing a focused, constrained build sequence. The AI can make micro-adjustments as the codebase evolves without losing context or introducing features outside the defined scope.
The documents are also useful without an AI coding tool. A hired developer or agency can use the Technical Specification, Data Model, and API Design documents as a formal brief. The Design System gives a designer everything they need to produce consistent UI. The MVP Roadmap gives any project manager a sequenced build plan with dependencies already mapped.
A Note on Timing
The Build Documents process takes longer than either the Feasibility Report or Pitch Paper generation. The interview alone runs up to 30 questions. Extraction runs eight parallel agents. Writing runs in two parts with an intermission between them. Set aside time for this process rather than starting it between meetings, the overall session will take longer than the other generation features.
Ready to move from validated idea to technical blueprint? founderscore offers a 7-day free trial with 3 credits included. Build Documents costs 3 credits for the complete nine-document suite. No long-term commitment required.