How many ideas have slipped away because there was nowhere good to put them? Not a great place, just a good one. A notes app that buries them under grocery lists. A voice memo you never transcribe. A napkin sketch that doesn’t survive the week.
For founders and makers, the problem is rarely a shortage of ideas. It’s the system for holding them. founderscore gives your ideas a proper home, and more importantly, gives each one a path: capture it, define it, test it, build it. This article walks you through everything you need to get oriented in your first five minutes on the platform.
Your First View: The Projects Dashboard
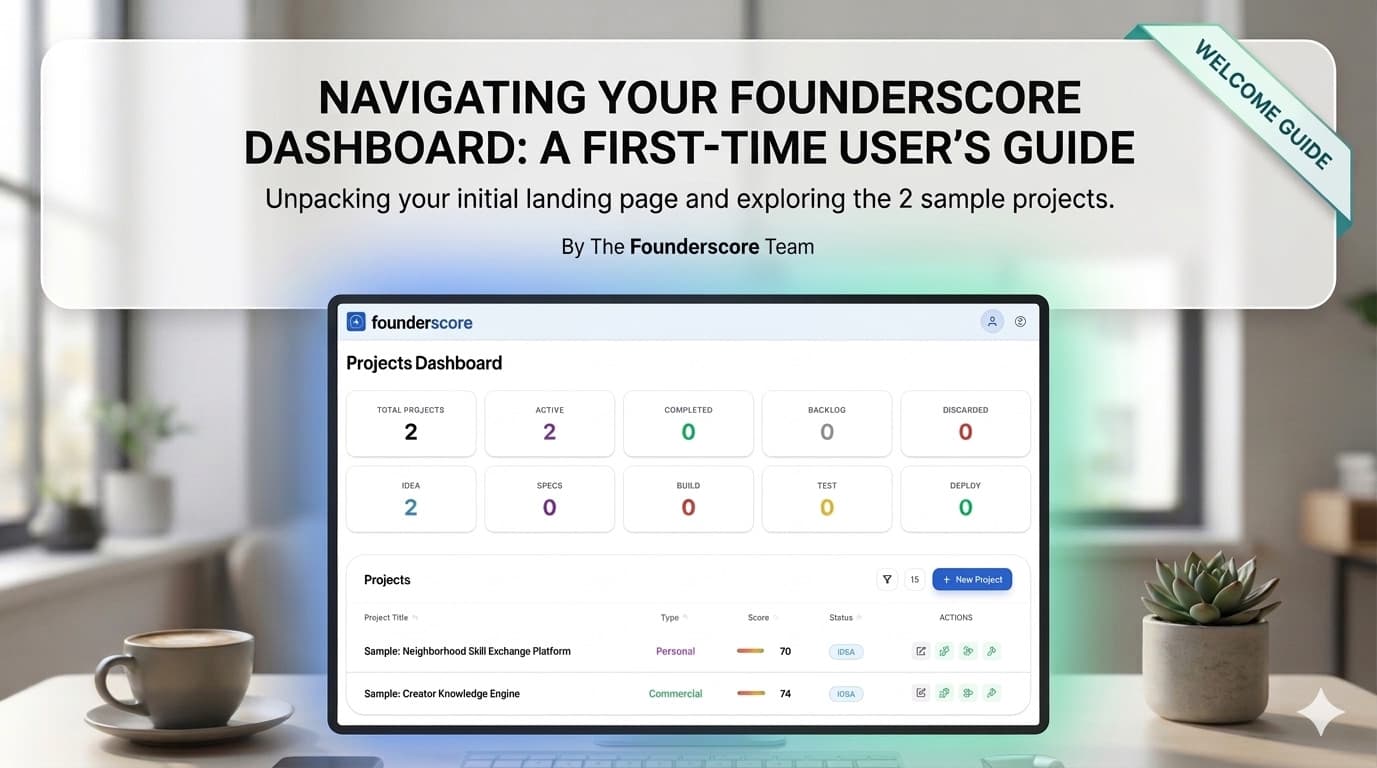
The moment you log in, you land in the Projects Dashboard. There is nothing competing for your attention. The header contains two things: your user account menu and a help menu. That’s it. If you are a founder with fifteen things on your mind, you will appreciate that the interface does not add to the noise.
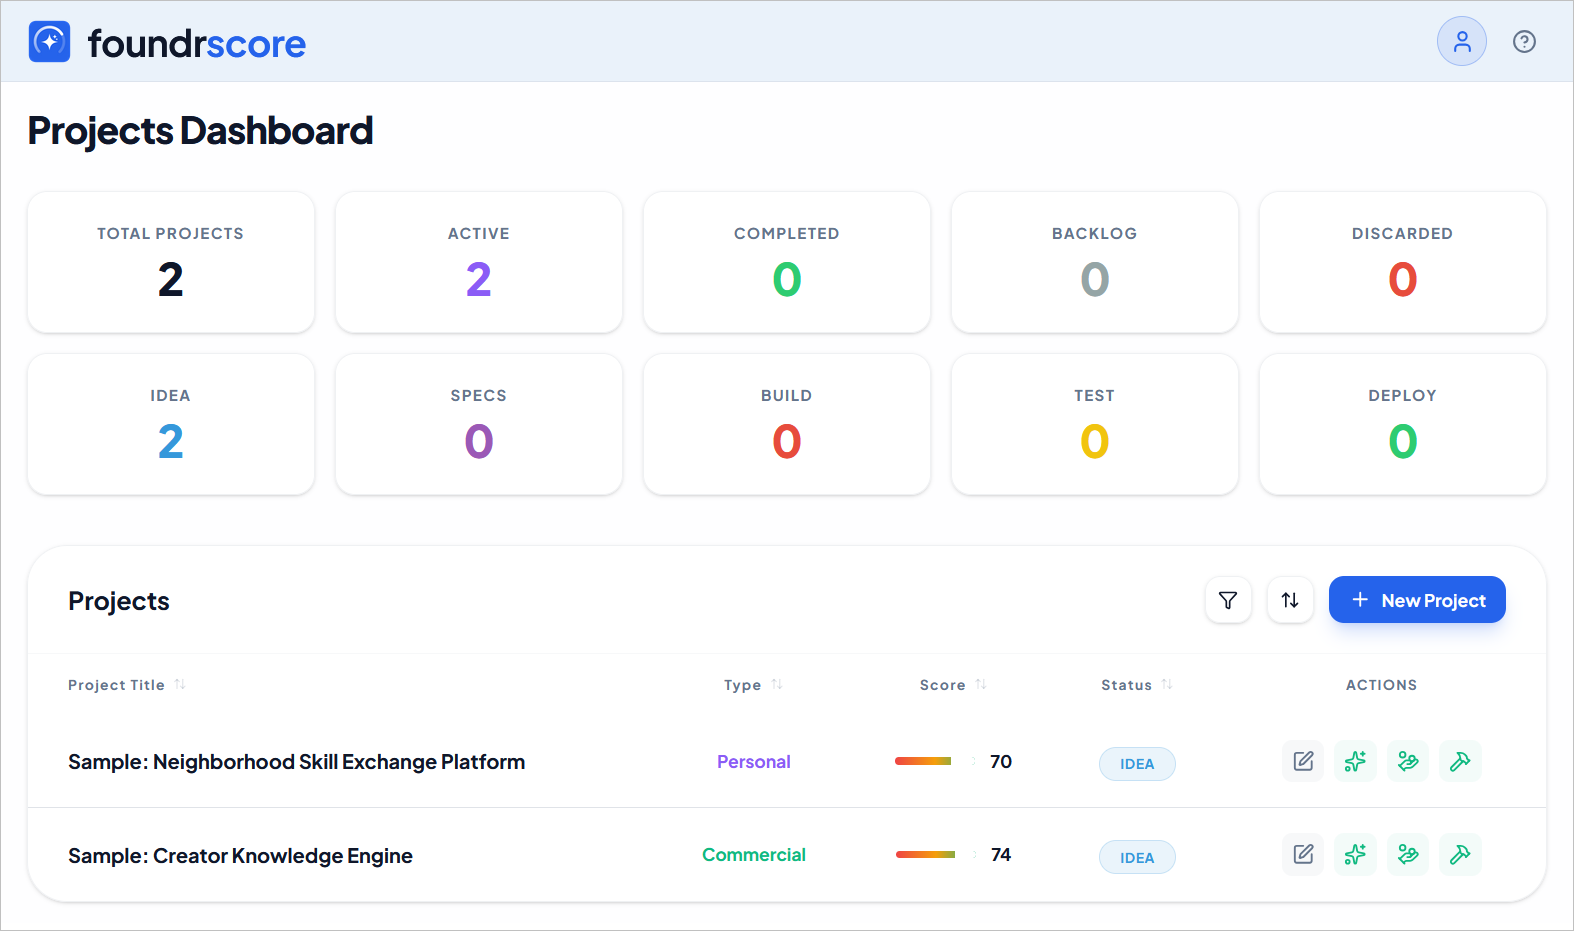
Two sample projects are already waiting in the Projects table. founderscore seeds every new account with a pair of pre-scored projects so you can see what a completed workflow looks like before you commit to your own idea. Take a moment to click through them.
## Reading the Dashboard at a Glance
Directly below the header, a row of status cards gives you an instant count of where your projects stand. Out of the box you’ll see cards for Total Projects, Active, Completed, Backlog, and Discarded across the top row, and your workflow-specific statuses (Idea, Specs, Build, Test, Deploy) in the row below. Each badge is color-coded and updates in real time as you move projects through their lifecycle.
Below the status cards is the Projects table. Each row shows:
-
Project Title: the name of your idea
-
Type: Personal or Commercial
-
Score: a color-coded bar and number from 0 to 100, populated after a Feasibility Report is generated
-
Status: the current workflow stage
-
Actions: four icon buttons that unlock the platform’s core capabilities
Those four action buttons are the heart of the workflow. The pencil opens the project details editor. The sparkles icon launches the Feasibility Report generation process. The coins icon opens the Pitch Paper creation process. The hammer starts the Build Documents process. Each icon shifts from gold or orange to green once that feature has been run for the project, so you can see at a glance what has been completed.
Sorting and Filtering Your Project List
As your idea list grows, the sort and filter controls become essential. The filter button (funnel icon, top right of the Projects section) lets you narrow the table by project type, status, or score range. The sort button lets you build up to a five-level sort hierarchy. Score descending, then title ascending, then date added is a common setup for comparing ideas by strength. Both your filter and sort preferences can be saved as your default, so the table remembers how you like it between sessions.
Custom Statuses: Making the Workflow Yours
founderscore ships with eight default statuses: Idea, Specs, Build, Test, Deploy, Completed, Backlog, and Discarded. For many founders that covers the full lifecycle of a project without any changes. But if your process looks different, you can adapt the system to fit.
Open the account menu (the person avatar in the top right) and choose Manage Statuses. From there you can:
-
Rename any customizable status to match your own terminology
-
Recolor statuses using 10 preset color options
-
Reorder them by drag and drop to reflect the sequence that makes sense for your workflow
Three statuses cannot be modified: Completed, Backlog, and Discarded. This is a deliberate constraint. No matter what you call the stages in between, every project eventually lands in one of those three states. Keeping them fixed prevents the dashboard from becoming a collection of ambiguous labels and forces a real decision on each idea. Finished, waiting, or let go.
Getting Help: The Help Menu and Vera
Two support systems are always available, no matter where you are in the platform.
The Help menu (the question mark icon in the header) contains links to the About page, full documentation, FAQs, a roadmap section for logged in users, and general release notes. You will also find a “Take the Tour” option that restarts the onboarding wizard from the beginning. If you land back on the dashboard after a few weeks away and need a refresher, that is the fastest path back to being oriented.
Vera is the platform’s AI help assistant, available as a floating button in the bottom right corner of every page including the public landing page. She is grounded exclusively on founderscore’s documentation and FAQs, which means her answers are specific and accurate rather than generic. Ask her how the credit system works, what the difference between a Feasibility Report and a Pitch Paper is, or what happens when you click Approve and Generate. She will give you a precise answer without sending you somewhere else to find it.
Your Account Menu: Credits and Account Management
Your account menu is worth a full tour on day one. Open it by clicking the person avatar in the header.
The credit balance display is the most important thing to understand early. founderscore uses a credit system to access AI features. The balance view shows two separate numbers: monthly credits and purchased credits. Monthly credits reset on your billing cycles anchor date. Purchased credits, bought as top-up packs or earned through the referral program, never expire. The platform always draws from your monthly allocation first.
From the account menu you can also:
-
Set or update your Display Name, which appears in the subject line when you share reports by email
-
Change your email address (for magic link users; Google account email is managed through Google)
-
View your full credit usage history, including which features consumed credits and when
-
Purchase additional credits via Stripe if your monthly allocation runs low
-
Manage your subscription directly through the Stripe billing portal
-
Send a referral to a friend or colleague once your trial period ends
Two Sample Projects Are Waiting for You
Before you create your first project, spend a few minutes with the sample projects that were pre-loaded into your account. Both have completed Feasibility Reports you can open and read. You will see the score gauge, the verdict, the report sections, and the Score Improvement Roadmap that accompanies every report. Getting familiar with the output before you run your own interview makes the process feel much less like a black box.
What Comes Next
Once you have explored the dashboard, the next step is creating your first project and maybe using the AI Brainstorm Worksheet to turn a rough idea into a structured brief before the interview begins. That is the subject of the next article in this series.
founderscore is built around a single conviction: the best thing you can do for a good idea is test it honestly, and the best thing you can do for a bad idea is find out quickly. The dashboard is where that process begins.
Ready to get started? Your 7-day free trial includes 3 credits and two sample projects to explore right away. No long-term commitment required.